
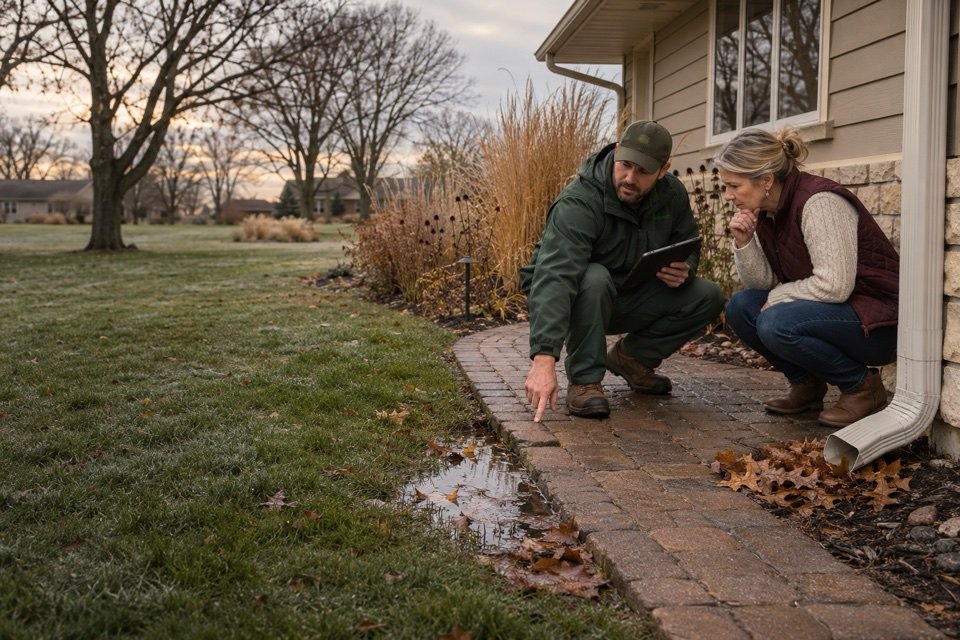
A shallow puddle beside a walk may look harmless in November. A slightly open paver joint, a downspout buried under leaves or a leaning landscape light may seem like something to revisit in spring. Then the temperature drops, trapped water freezes and the same small details become slick routes, loosened edges or repeated wet spots.
That is the practical meaning of freeze-thaw preparation: do not try to winter-proof every inch of a property. Find the places where water collects, materials have moved or access is already awkward, then correct the cause before repeated cold-weather cycles make the clues harder—and often more expensive—to ignore.
This Central Kansas checklist connects the parts of the property that are often evaluated separately: roof water, lawn grades, drains, pavers, retaining walls, planting beds, irrigation and outdoor lighting. Walking them in one sequence helps reveal when two or three “small” problems are actually one water or layout problem.
What freeze-thaw cycles actually reveal
Water expands when it freezes, but that simple fact does not mean every winter crack or uneven paver was caused by ice alone. Durable outdoor construction is designed for seasonal weather. Problems are more likely when moisture remains trapped, foundation soil is weak, base material is saturated, joints or edges have failed, or drainage directs water toward the wrong place.
Repeated freezing and thawing can expose those weaknesses through movement, scaling, opened joints, erosion and settlement. The useful question is not only “How do we patch this?” It is “Why is water reaching or staying in this location?” A surface repair performed without that answer may look better briefly while the underlying condition continues.
Start after a rain, when flow paths are visible, and return during a dry period. Photograph the same spots. Look for the source, the route and the outlet of water. The pattern matters more than a single isolated puddle.
1. Follow water from the roof to a safe outlet
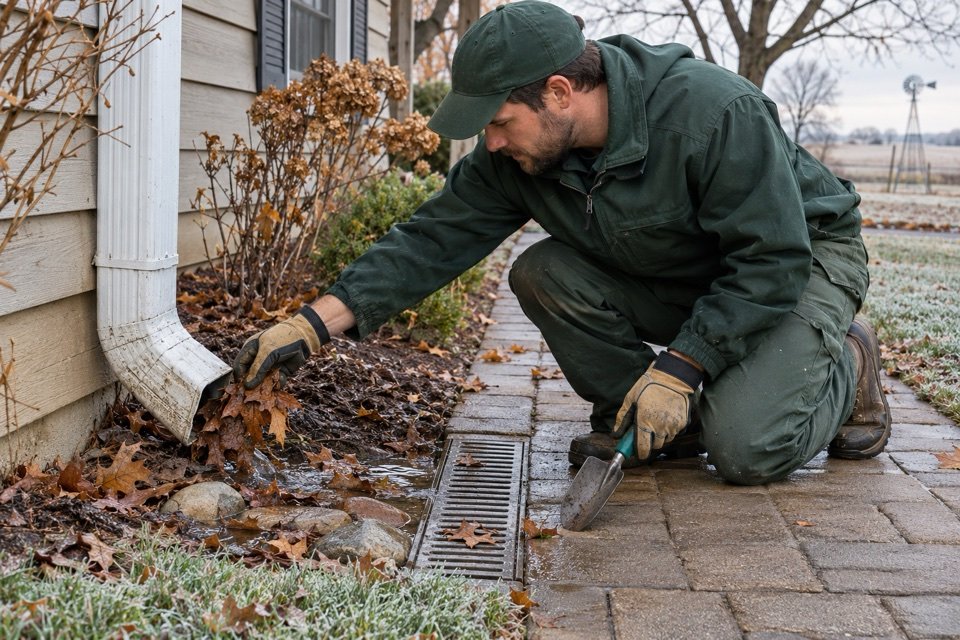
Begin at every downspout. Confirm that the gutter connection is secure, the outlet is not buried in leaves and the extension carries water away from the foundation without emptying onto a walk, into a planting bed that cannot drain or onto a neighboring property. A decorative splash block cannot help if it has shifted uphill or if erosion has formed a channel around it.
Next, follow the surface grade. Water should continue moving instead of settling in a low strip beside the house. Check basement-window areas, stair landings, driveway edges and the transition where lawn meets hardscape. Dark soil, algae, sediment lines and flattened mulch can reveal a route even when the ground is dry.
Finally, find the outlet for any yard drain, channel drain or buried pipe. An inlet is only half a drainage system. If the pipe is crushed, flat, blocked or ends without a dependable discharge point, cleaning the grate will not solve the full problem. Our guide to standing water and yard drainage explains how to trace water from source to outlet before choosing a fix.
2. Walk every route as if it were already icy
Use the main path from the driveway to the door, the trash route, side-yard access and any steps used for deliveries. Watch for rocking pavers, abrupt lips, sunken sections and places where runoff crosses a walking surface. A small transition that feels minor in dry weather can become a trip or ice hazard when visibility is low.
Do not assume that adding sand or resetting one paver is always the lasting answer. Unevenness may come from a poorly prepared base, soft subgrade, missing edge restraint, washout or concentrated water. Read why patios and walkways sink before deciding whether a localized correction or a broader rebuild is appropriate.
Also check handrails, gate clearance and door landings. Soil or hardscape movement can change how a gate swings or how a storm door clears a mat. Trim back plants that obscure steps, but avoid random heavy pruning that is not appropriate for the species or season.
3. Check joints, edges and drainage—not only cracks
On a paver patio or walk, the system includes the units, joint material, edge restraint, bedding layer, base and soil below. Look for joint loss, gaps opening along the edge, spreading curves, rocking units and water remaining in one area long after surrounding pavement dries. Those clues help distinguish normal maintenance from base or drainage movement.
Concrete should also be examined as a system. Note existing cracks, scaled surfaces, low areas and joints where water sits. Avoid sealing moisture into a problem or applying a product simply because winter is approaching. Surface preparation, material compatibility, temperature range and cure time all matter; follow the manufacturer's instructions or have the condition assessed.
For pavers, the Concrete Masonry & Hardscapes Association emphasizes surface drainage and recommends that water not be directed onto adjacent pavement where it can collect and freeze. That principle is more useful than chasing a universal product: give water a deliberate route and use materials compatible with the installed system.
4. Read retaining walls before the ground freezes
Stand at both ends of each wall and sight along the face. Look for leaning, bulging, separated blocks, settlement at the top, erosion at the bottom and water emerging through one concentrated area. Check whether roof runoff or an uphill lawn sends water toward the backfill. Locate drain outlets and make sure they are not buried or damaged.
Freezing weather can make a wet wall problem more visible, but it does not replace diagnosis. A drain pipe behind the wall is not enough if uncontrolled runoff continually saturates the soil above it. Likewise, resetting caps does not correct a rotating base or eroded toe. The full retaining-wall planning guide covers warning signs, water pressure, loads and the layers behind the visible face.
Keep people away from a wall with significant or active movement. If a driveway, structure, large tree or other load sits above it, the assessment may require more than landscape maintenance.
5. Prepare plants without overworking them
Late fall preparation is mostly about reducing stress and protecting roots—not forcing new growth. Kansas State Research and Extension advises watering trees and shrubs thoroughly, but not excessively, before freezing weather. During unusually warm, dry winter periods, some conifers may need additional water; do not water frozen ground.
Maintain an appropriate mulch layer over the root area, but pull mulch away from the trunk flare and woody stems. A deep mound against the trunk does not insulate the tree more effectively; it holds moisture where bark should remain exposed and can hide damage. Remove diseased or heavily matted debris where appropriate, but leave the landscape stable instead of stripping every bed bare.
Do not fertilize simply because the season is ending. Plant needs, product timing and soil conditions should guide that decision. Use our fall landscaping checklist for lawn, irrigation and planting-bed tasks that should happen before the first hard freeze.
6. Treat deicers as a targeted safety tool
Deicing products can make critical walking areas safer, but more product is not automatically more protection. Different salts behave differently at low temperatures and can affect plants, soil, waterways, metal and paving materials. The U.S. Environmental Protection Agency notes that deicing salts are soluble, persistent in the environment and capable of creating water-quality problems when they mix with stormwater.
The first step is mechanical: remove snow promptly before traffic packs it into ice. Use a shovel or tool that will not damage the surface. If a deicer is needed, check the label, the temperature range and the hardscape manufacturer's guidance. Apply it only to critical areas, avoid piles, keep it out of planting beds and sweep visible excess from dry pavement for later use.
University of Minnesota Extension notes that excessive deicing salt can degrade concrete, asphalt and natural stone, corrode metal and injure plants through roots or salt spray. Sand may improve traction, but it does not melt ice and can clog drainage. No product eliminates the need to manage the water that will be created when the ice melts.
7. Protect irrigation without guessing
Shutoff and winterization steps depend on the irrigation layout, backflow device, pipe material and whether the system was designed to drain. Turning off a controller is not the same as removing water from vulnerable components. At the same time, using compressed air incorrectly can damage equipment or create a serious safety hazard.
Locate the controller, shutoff, exposed valves and backflow assembly. Record the final operating issues of the season—dry zones, broken heads, constant wet areas or pressure changes—so they are not forgotten in spring. If the winterization method is unclear, use a qualified irrigation professional rather than improvising.
Disconnect garden hoses and protect exterior faucets as appropriate for the building. Make sure a disconnected hose is not left across a route where it will collect water, freeze or create a trip hazard.
8. Inspect landscape lighting in daylight and after dark
Daylight reveals physical problems: tilted fixtures, exposed cable, soil erosion around a base, water inside a lens or plant material touching a delicate component. After dark, walk the property again and identify missing light at steps, gates, grade changes and entries.
Do not solve a dark spot by installing the brightest possible fixture. Good winter lighting controls glare and puts useful light where feet, edges and obstacles need to be seen. Clean lenses, reset aiming and correct loose fixtures before adding more equipment. Our guide to outdoor landscape lighting explains how layered, warm light can improve safety without turning a home into a floodlit lot.
Keep electrical connections and transformers accessible. Do not bury components under mulch, leaf piles or snow-storage areas, and use products listed for their outdoor location and intended installation.
9. Decide where snow and meltwater will go
Before the first storm, choose places to pile snow that will not block a drain, overload a shrub, cover a landscape light or send salty meltwater into a planting bed. Keep fire-hydrant, utility and service access clear. Preserve visibility at driveways and walk intersections.
Snow storage is a drainage decision. A pile may look harmless while frozen, then release a large amount of water onto a shaded walk during a warm afternoon. Watch where that meltwater will travel and whether it can refreeze overnight. Move the planned pile now if the route crosses the main entrance or drains toward the foundation.
10. Photograph the property before winter
Create a simple record with wide and close photographs. Include downspouts, drain inlets and outlets, paver transitions, wall faces, irrigation components and any place that repeatedly stays wet. Add one photo from each property corner to show the overall layout.
These images help in three ways. They make spring changes easier to recognize, show contractors what was visible before snow or freeze, and preserve the location of components that may become covered. Add approximate dimensions and a short note about when water appears—for example, “after roof runoff,” “only during irrigation” or “stays wet two days after rain.”
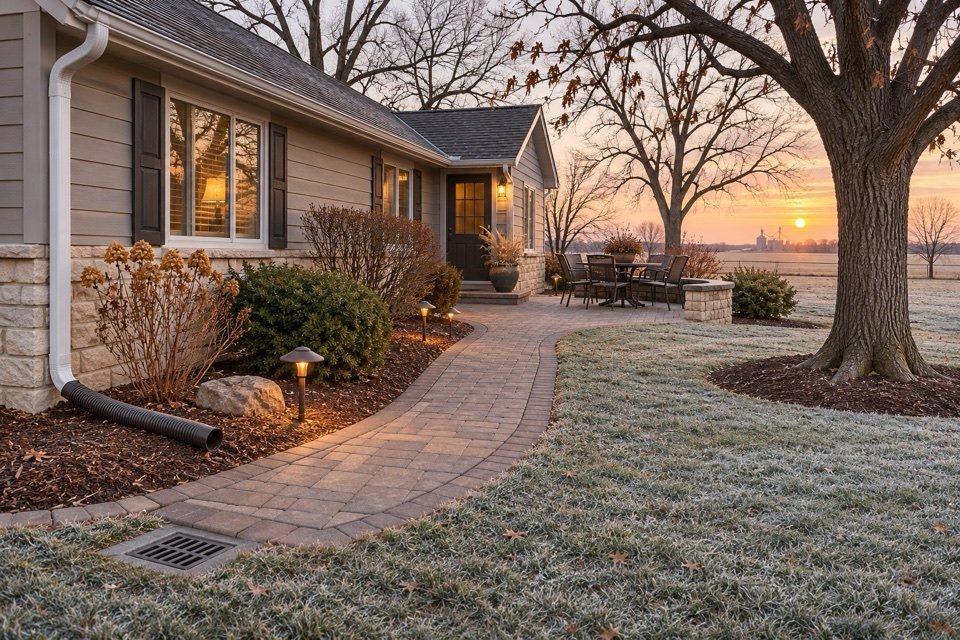
A one-hour cold-weather property walk
If the full list feels overwhelming, use this order. It keeps the inspection practical and follows water through the property.
- Roof line to ground: check gutters, downspouts, extensions and erosion below outlets.
- Ground to outlet: clear visible grates and identify where each drain or swale discharges.
- Primary walking routes: mark uneven units, ponding, loose rails and dark transitions.
- Hardscape edges: inspect joints, edge restraints, steps and connections to lawn or beds.
- Walls and slopes: photograph movement, erosion, seepage and loads above.
- Plants and irrigation: correct mulch contact, record watering concerns and confirm winterization.
- Lighting and access: test after dark and keep transformers, gates and utilities reachable.
- Snow plan: choose storage areas and protect drains, plants, fixtures and meltwater routes.
Prioritize immediate safety, active water near the structure and visible movement. Cosmetic cleanup can wait. If several symptoms appear in the same area—a wet downspout corner, sinking walk and leaning bed edge, for example—plan one coordinated correction instead of three disconnected patches. The article What Should You Fix First? provides a broader priority framework.
When to bring in CPS
A professional property review is useful when the water source is unclear, an outlet cannot be found, multiple hardscape areas are moving, a retaining wall shows change or the safe route to the door needs redesign. It is also helpful when seasonal cleanup, drainage, hardscape and lighting work should be coordinated so one repair does not interfere with another.
CPS Home & Garden provides seasonal cleanup and property maintenance as part of broader landscaping and property-improvement planning in Great Bend and Central Kansas. Send wide photos, close details, approximate dimensions and notes about when the condition appears. That gives the conversation a better starting point than a close-up of the damage alone.
Plan before the next hard freeze
Have standing water, an uneven walkway, a moving wall or several connected concerns? Send CPS the property details and photos for a practical next-step conversation.
Request an estimateFrequently asked questions
What is a freeze-thaw cycle?
It occurs when moisture freezes, later thaws and may freeze again. Repeated cycles can expose weak drainage, loose edges, saturated base material, cracks and unstable soil around landscape structures.
Why does drainage matter before winter?
Water that collects beside foundations, in low paver areas, behind walls or at blocked outlets can freeze where it should not. Trace the complete route and confirm that an appropriate outlet remains open.
Should I use deicing salt around my landscape?
Use any deicer only where needed and according to its label and the surface manufacturer's instructions. Clear snow first, avoid piles and sweep excess product from dry pavement.
Can I fix uneven pavers before winter?
Possibly, but diagnose settlement or ponding before making a surface-only repair. The cause may be drainage, base preparation, soil movement or failed edge restraint.
When should I request a professional review?
Ask for help when water reaches the foundation, walking surfaces are unsafe, a retaining wall is moving, erosion is active, outlets lack a clear route or several symptoms appear connected.